Remove the print cartridges

  1. Make sure the power light is on.
  2. Raise the scanner unit.
The cartridge carrier moves to the loading position, unless the All-In-One is busy.
  1. Open the cartridge carrier covers by pressing firmly down on the carrier levers.
  2. Pull the cartridges towards you until you hear a snap.

  3. Remove the used cartridges. Store them in an airtight container or dispose of them properly.

    Note:

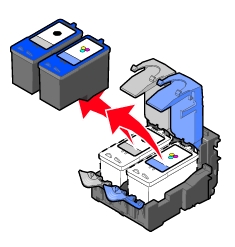
    When removing the photo cartridge to exchange it with a black cartridge, store the photo cartridge in the storage unit provided.

Related topics

Install the print cartridges

Understanding the All-In-One parts

Preserve the print cartridges

Back to Maintaining my All-In-One
Back to Main Page